Nobody likes losing, but when you look back at your last performance, can you pinpoint why you lost?
Missed spares are missed opportunities, and it’s crucial to develop a spare system that is uniquely yours that you can rely on.
In order to become a better bowler, you need to make your spares. Keeping it clean or not having an open frame (splits excluded) throughout the course of a game is not only gratifying but productive when working to increase your average.
In this article, you’ll learn how to shoot spares on both the left and right sides of the lane and develop a spare system that will serve as your guide to making spares.
Body Alignment
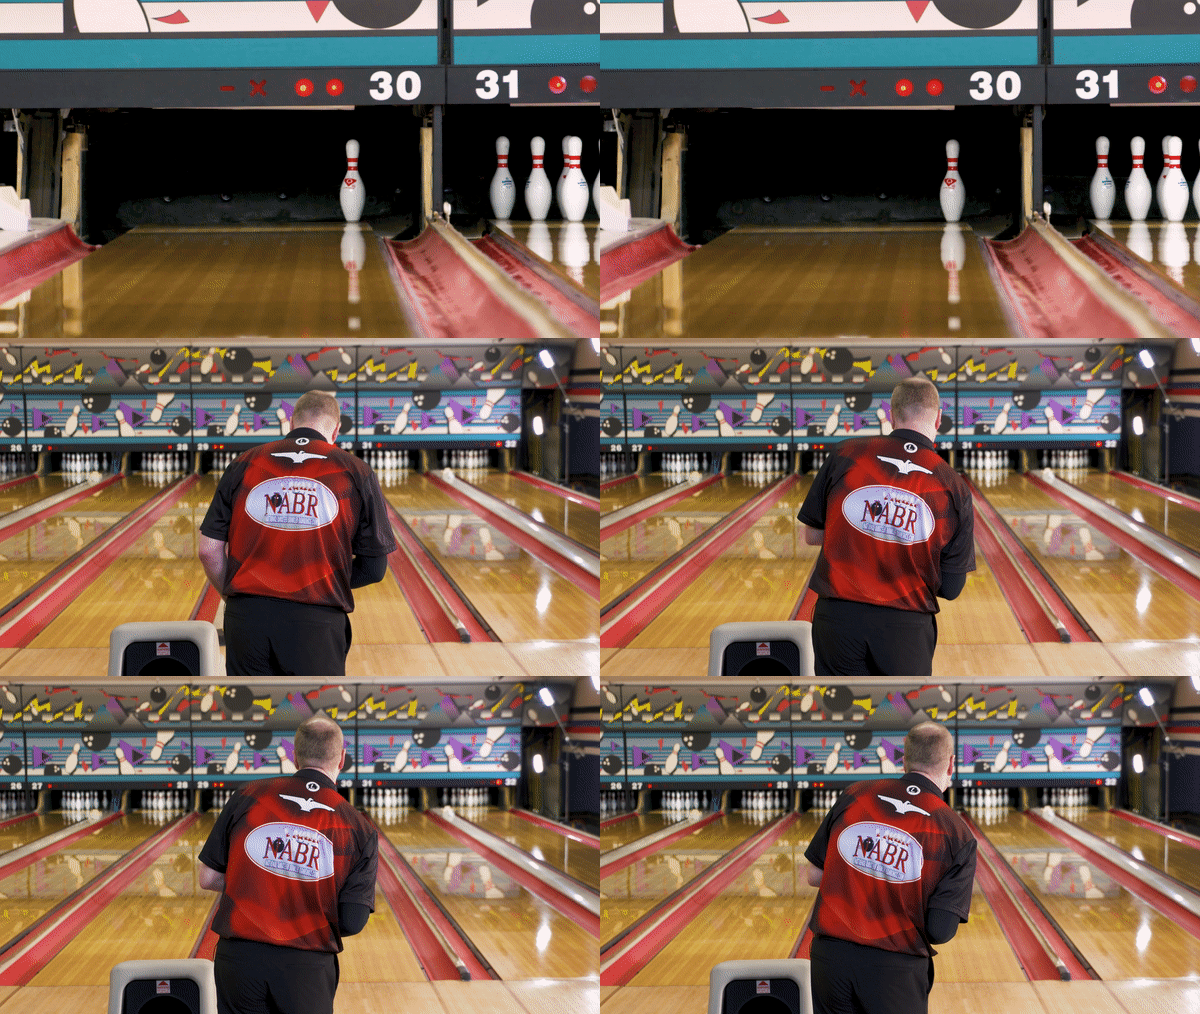
Your waist and shoulders must face the direction of the pin you are shooting at.

If you are right-handed and shooting at the 10-pin, stand on the left side of the approach.
Align your waist and shoulders towards the 10-pin and target what’s comfortable for you to make the 10-pin.
Note that his waist and shoulders stay in the same position throughout the approach.

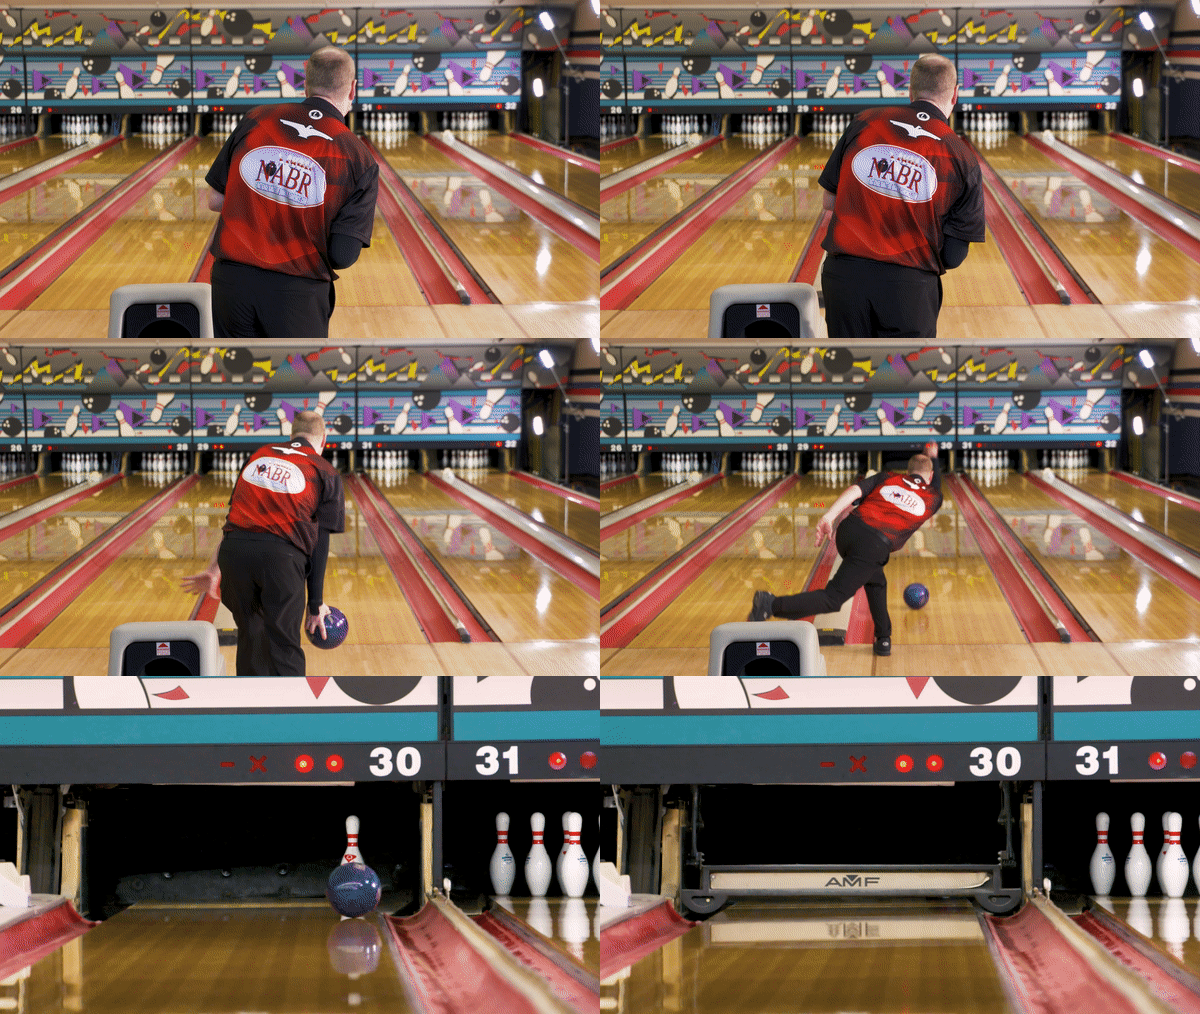
Spares on the left side for right-handed bowlers require angling your waist and shoulders toward the pin you are shooting at.

Align your waist and shoulders towards the 4-pin and target what’s comfortable for you to make the 4-pin.
Note that his waist and shoulders stay in the same position throughout the approach.

Release
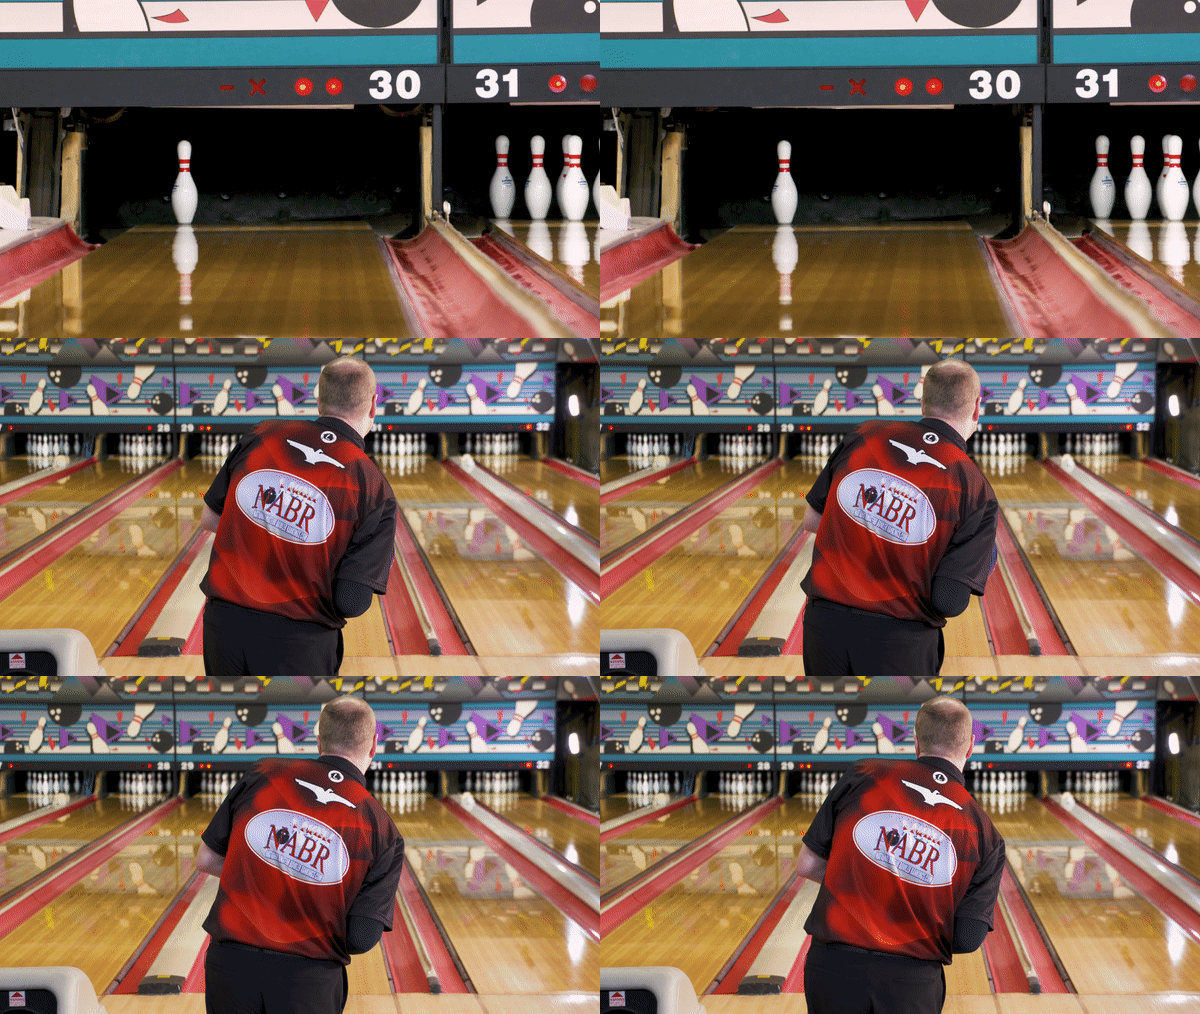
In order to flatten out the hook from the bowling ball, you need to change your wrist position.

Try to avoid cupping the wrist and place your hand so it’s more up the back of the bowling ball.
A good way to remind yourself to put your hand in this position when shooting spares is to put the weight of the bowling ball more onto your fingers than your palm.
The goal is to have an end-over-end rotation rolling down the lane with as little side rotation as possible.
This will ensure your bowling ball goes straight and does not hook at the end of the lane.

Spare System
Utilizing a plastic ball, an end-over-end release, and the fourth arrow, you’ll be able to pick up your right and left side spares every time, regardless of what the lane is doing.
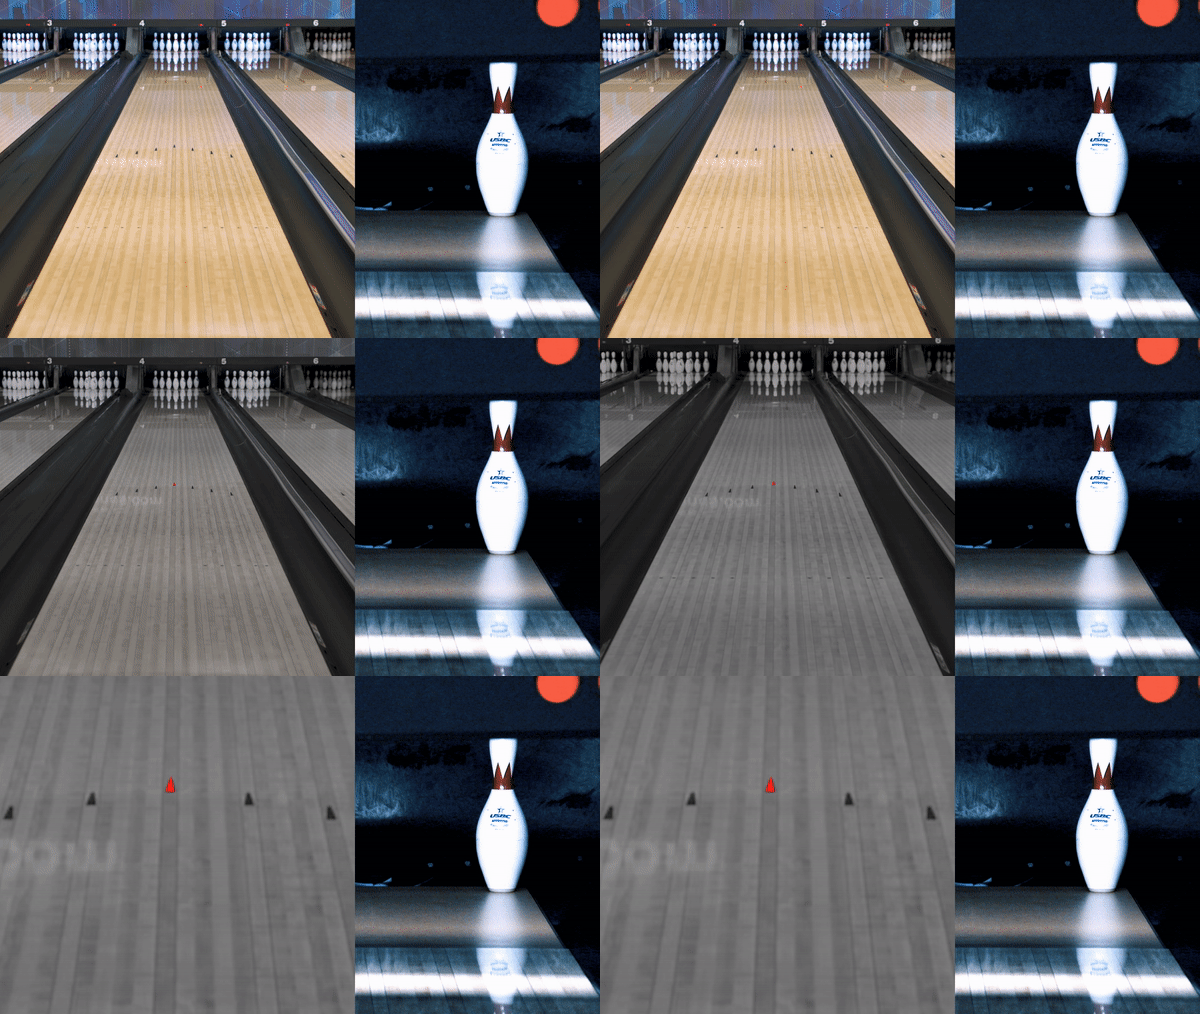
To begin, start by shooting at the 10-pin, aiming at the fourth arrow.

Pick a spot on the approach with your feet that you feel comfortable with, and then use your plastic ball with an end-over-end release to make the 10-pin.
An end-over-end release is achieved by allowing your thumb to lead your fingers at the release point.
If you make the 10-pin, this is your starting position for your right-side spares. (10, 6, 3 and 9 pins)
If you miss the 10-pin and the fourth arrow, shoot at it again. You must hit the fourth arrow before making any adjustments with your feet.
If you hit the fourth arrow and miss the 10-pin, move two boards in the direction you missed and keep shooting until you make the 10-pin.
When you hit the fourth arrow and knock down the 10-pin, this is your starting position on the approach for right-side spares.
Continue moving in two-board increments to the right with your feet aiming at the fourth arrow until you knock down the 6-pin, and the 3 and 9 pins.
You can go ahead and do the same process for the left side spares (7, 4, 2 and 8 pins), starting with the 7-pin.
This personalized spare system will travel to any bowling center under any condition. Unlike the 3-6-9 spare system where you hook at spares with your strike ball, this system takes the lane condition out of the equation, utilizing a plastic ball throwing straight at spares.
The 3,6,9 spare system is great for bowlers just beginning to get command of their game, but this personalized spare system gives you more control and accuracy and the best part is, it never changes.
When spare bowling, you have options. Make sure you check out all of our coaches’ tips on spare shooting to find what works best for you.
Share tips, start a discussion or ask other students a question. If you have a question for the instructor, please click here.
Already a member? Sign in
No Responses to “Level Up with Better Spare Shooting”