Quick Tip: How & Why You Sand a Bowling Ball
Erik VermilyeaIf you have ever watched the PBA Tour you’ve likely seen bowlers and their coaches sanding a bowling ball. By doing so, they alter the bowling ball’s surface to change its reaction or ball motion on the lane.
A brand new bowling ball comes out of the box with a surface setting designated by the manufacturer. Rarely has a professional bowler ever competed with a brand new out-of-the-box ball without adjusting its surface; posing the question, why would you?
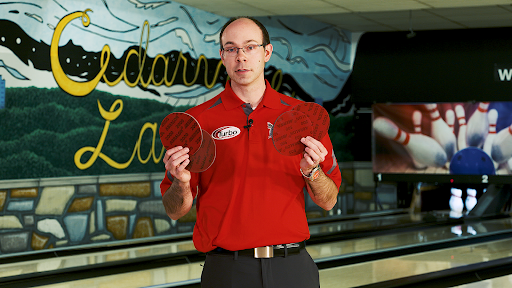
Learning to adjust a bowling ball’s surface with sanding discs is a simple process and in this quick tip Coach Erik Vermilyea with Track demonstrates how.
Sanding Disc Grit
The lower the number grit sanding disc you choose, the earlier the ball will hook and vice versa, the higher the number grit sand disc you choose the later the ball will hook.
If you’re unsure on which one to choose, National Bowling Academy has a great demonstration on the effects each grit sanding disc has on a bowling ball’s motion, “Making Adjustments to the Surface of your Bowling Equipment.” (Skip right to the surface test at 1:30).
Sanding a Bowling Ball
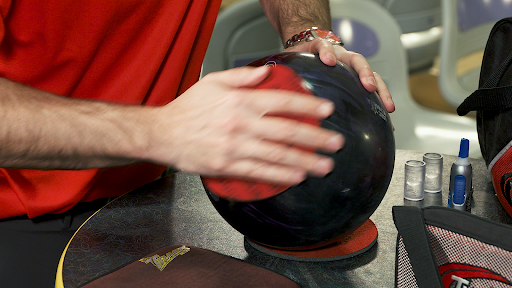
Next you’ll take your bowling ball and place it on a ball cup or another sanding disc and begin resurfacing the ball.
In a circular motion start sanding the ball. The goal is to apply the sanding disc evenly throughout the entirety of the ball, it’s a rule, actually. Another rule is that sanding a bowling ball can only be done before competition.
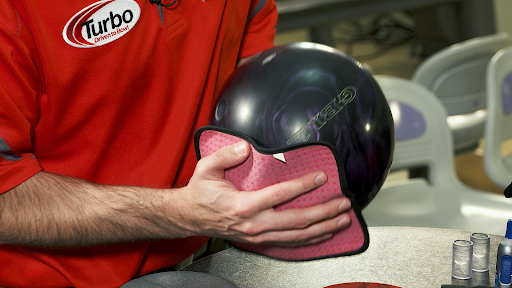
Next, grab a dry towel and remove the access dust from the bowling ball.
If you’re concerned that you’ll never get the bowling ball back to the way it was when it came out of the box, don’t be. The only thing you should concern yourself with is matching up to what the lane gives you.
Check out more equipment tips and free bowling videos National Bowling Academy offers to help you improve your game.
Hi there. Welcome to the National Bowling Academy. I'm Erik Vermilyea. On today's quick tip, I want to touch quickly on how and why you would sand the bowling ball yourself. A lot of times when you're bowling, the lane conditions might be a little different, like in a different bowling center on a different oiling pattern, or simply if you have a bowling ball that has some surface to start with, a dull, aggressive bowling ball, it is gonna get shiny as you use it.
It's gonna absorb some oil on the surface, it's gonna wear it down over time. So it's important to have a small selection of Abralon pads or other sanding disks in your bag, so you can help restore that cover stock to what you need it to be. Again, as you use the bowling ball, it will kind of shine up over time or if you are in a different bowling center and just need your bowling ball to pickup, to get into a roll a little bit sooner, one of these and a little bit of, a little bit of elbow grease, will take care of that for you. First thing you do is put the bowling ball on a table. You grab whatever Abralon pad you're looking to take that surface to.
Say if you're looking for a 2009 roll-on grip pad on this ball, that's what I originally had this ball at. I set it on the table, put the Abralon pad on top, use a circular motion. Be sure to sand the entire surface of the bowling ball so it meets USBC specifications. You do have to sand the entire bowling ball. Just give the entire bowling ball a once over with the Abralon pad until it looks even all the way around.
Grab a dry towel and then go ahead and wipe off all the excess dust. Make sure the ball's good and clean, with that freshly sanded surface. And you're ready to hit the lanes, with a little bit more hooking action.


Unfortunately, Coach Vermilyea's tip is TOTALLY ILLEGAL as of the 8/1/19 mandate of the USBC "Dry Towel Rule.