Two-Handed Bowling: 2LS Layout by Storm
Scott PohlThe number of two-handed no-thumb bowlers have grown considerably in the last decade. Storm’s Alex Hoskins and the company’s research and development team have created a new industry-standard system for drilling thumb-holeless bowling balls for two-handed bowlers that will have your next bowling ball reacting when and where you want it to.
In this premium video, Scott Pohl, owner of On Track Pro Shop, explains the 2LS Layout by Storm.
Finding the Axis Point
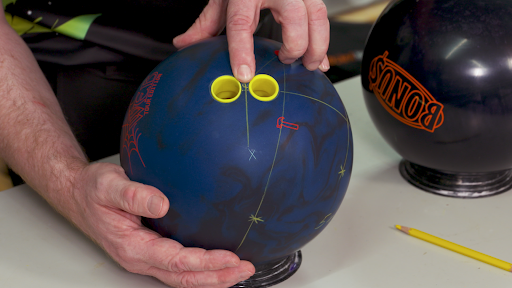
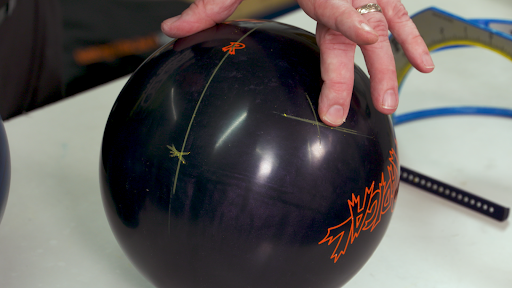
Traditional layouts locate the axis point from the center of the grip between the thumb and finger holes. The 2LS layout finds the axis from the center of the bridge.
From here, draw a line bisecting the fingers 5 inches to the right and 2 inches down to find the axis point.
Pin to the PAP (Positive Axis Point) Arc
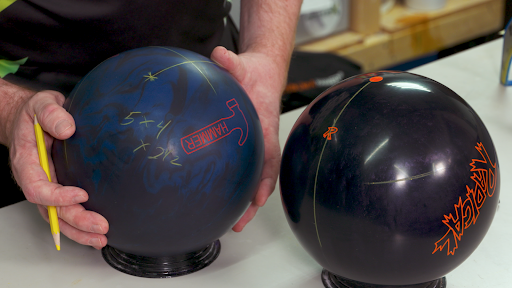
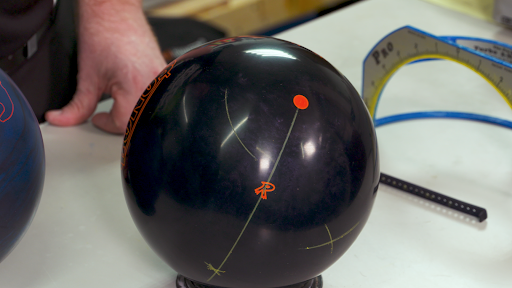
The first arc drawn is 5 x 4 x 2½. This controls the amount of flare utilized by the core. The number down on the x-axis can range from 0 to 6¾ inches. At 3⅜ inches, the most flare is created.
Lower than 3⅜ inches gives you earlier roll and smoother reaction overall. Higher than 3⅜ inches gives you more skid and stronger backend reaction overall.
PSA (Preferred Spin Axis) to PAP Arc
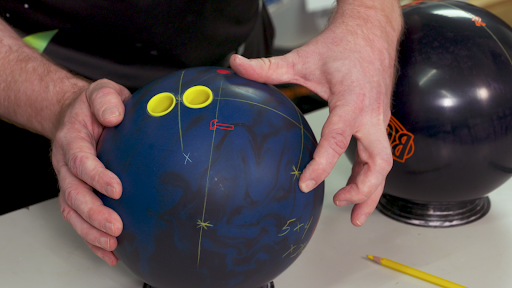
Below is the second arc drawn when utilizing the 2LS layout. In asymmetrical cores, the measurement controls the asymmetry and the intermediate differential. In symmetrical cores, the measurement controls the static imbalance to an extent.
The example below is a symmetrical core with a 6¾ inches though the center of gravity.
It has a 4-inch PSA and a 5-inch pin location, and below is where they meet.
Pin to COG (Center of Grip) Arc
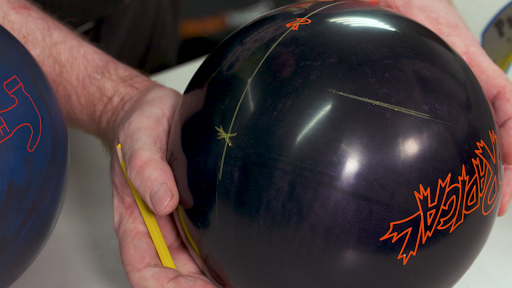
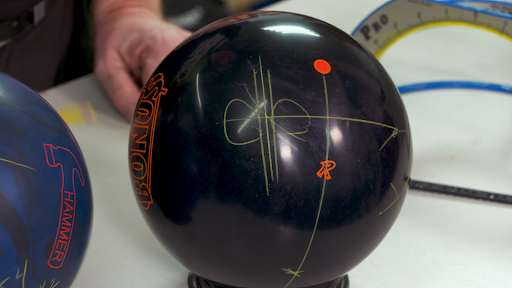
This arc controls the amount of post-drilled differential. Below is an example 2½ inches for a right-handed player.
Lightning Arc
Storm has provided a chart for this system with PAP coordinates for two-handed bowlers. Matching the coordinates for our example, Scott drew the lightning arc 5¼ inches from the top line pin to COG Arc to the Lightning Arc to find the center of the finger holes.
The farther you put the pin distance away from the fingers, the more hook, and just the opposite for a smoother reaction with this layout system.
For more two-handed bowling instruction, check out Two-Handed Bowling Fit Basics and Two-Handed Bowling Tips.
